ARTicles
More tales of China and the Paintings they have inspired
Painting Giant Pandas from photographs of my visit to the Chengdu Research Base of Giant Panda Breeding in October 2007.
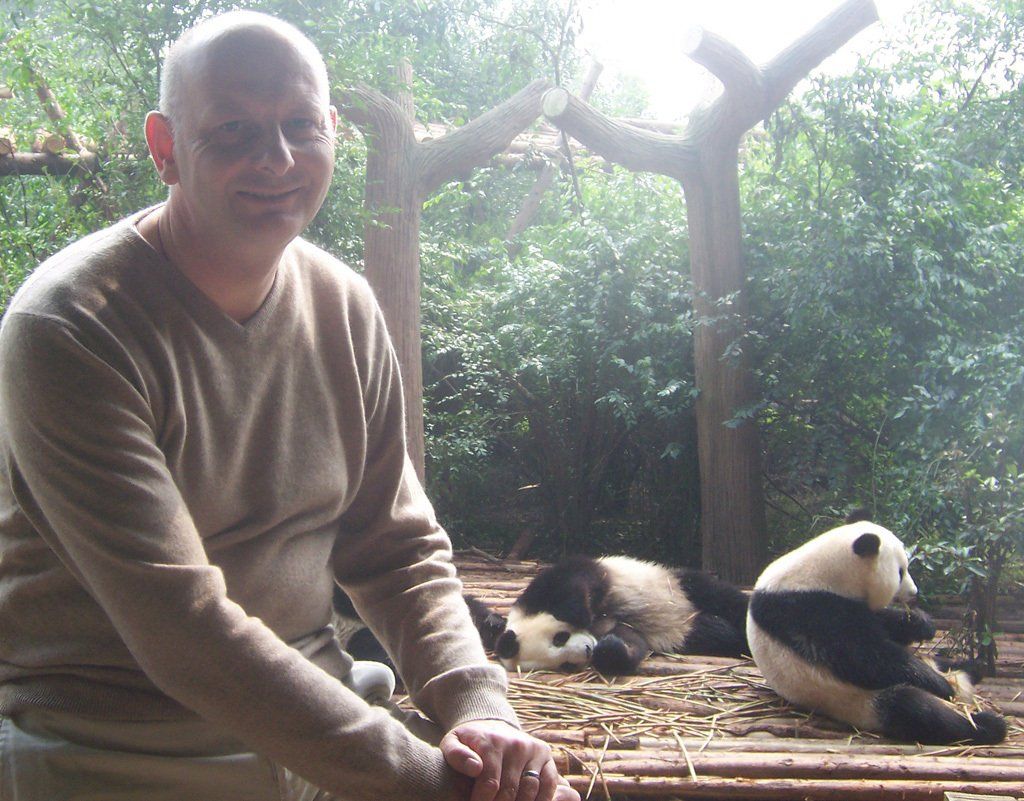
Before I start my tale, I would just like to thank you all for your feedback on last month’s ARTicle, in fact it was so encouraging that I decided to continue with tales of painting some of the inhabitants of the Chengdu Research Base of Giant Panda Breeding, or just simply “Panda Base” (from their website).
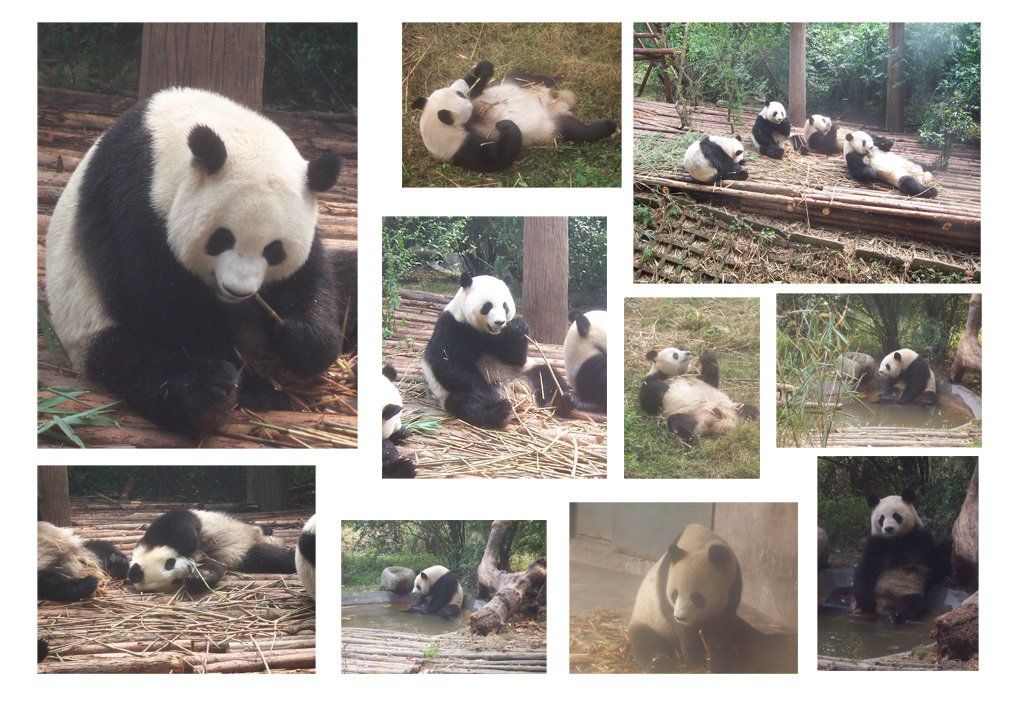
Figure 1: Photos of some of the inhabitants of the Chengdu Research Base during my visit in October 2007
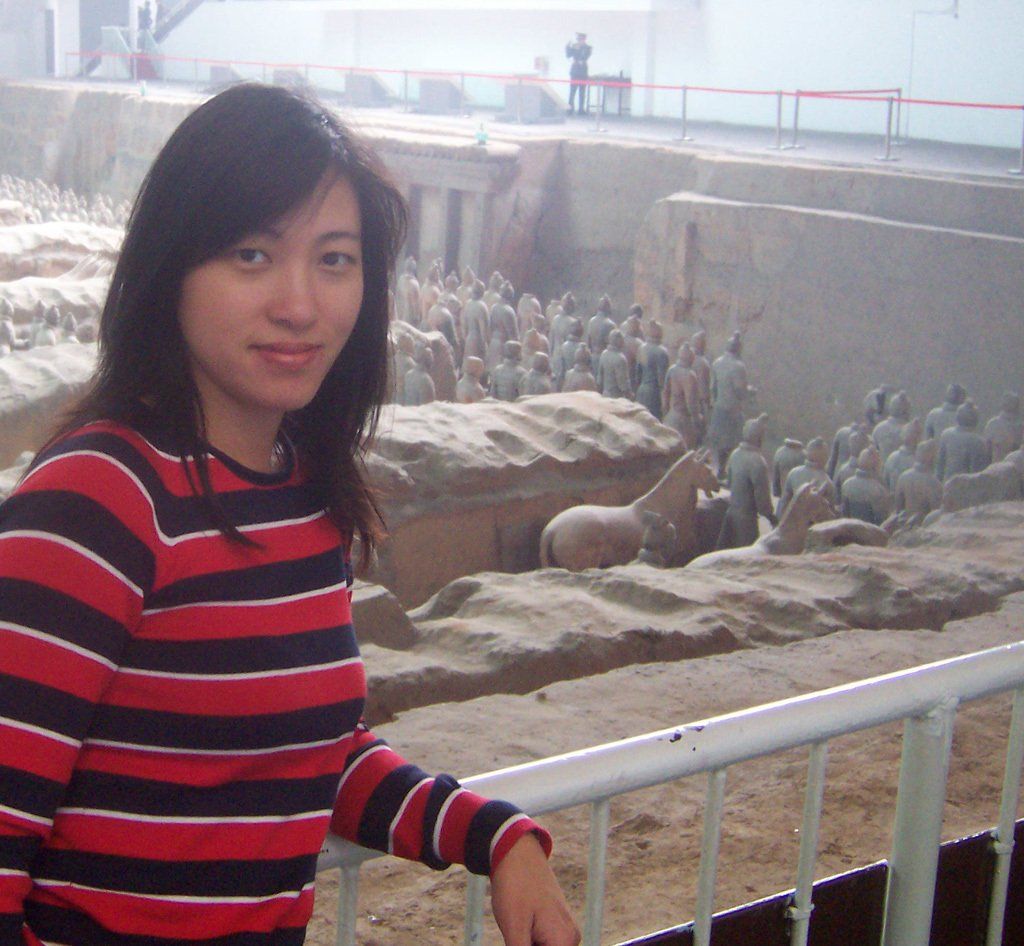
When I visited in October 2007, I am convinced it was called the Chengdu Panda Research Institute, which was where I told everyone at the time that Meiru and I had visited. It was part of a planned trip to Chengdu in Sichuan Province, which is famous for its hot and spicy food. Earlier we had had two days on Mount Emei (峨眉山), which is one of the four sacred Buddhist mountains in China and site of the first Buddhist temple built in China. We had gone to see the Giant Leshan Buddha (樂山大佛) and visit the Wannian (万年寺) Buddhist temple. We also visited and fed the Tibetan macaques that live on the mountain, before returning to Chengdu to visit the Panda breeding centre.
Over the years, I have used my photographs of the Chengdu pandas as references for several paintings. The first, “Giant Panda Feeding” was finished in February 2008 (figure 2a) and was painted with Winsor & Newton’s (W&N) Soft Pastels on Daler-Rowney’s Ingres pastel paper. The second was a watercolour, “Giant Panda Feeding 2” (figure 2b) painted with W&N’s Artists watercolours in June 2008, on Langton CP paper.
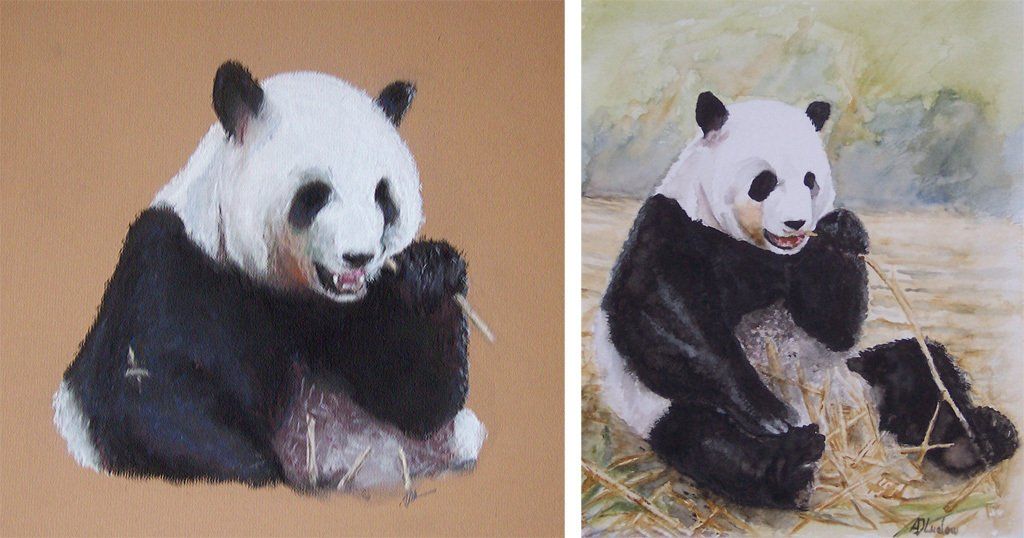
Figure 2: (a) “Giant Panda Feeding”, a pastel painting (20cm x 20cm) and (b) “Giant Panda Feeding 2”, a watercolour painting (21cm x 25cm), both by Andrew Ludlow.
My model in both paintings was the adult siting up right in the photograph of the group of 4 pandas eating bamboo shoots (see figure 1) and detailed in figure 3a.
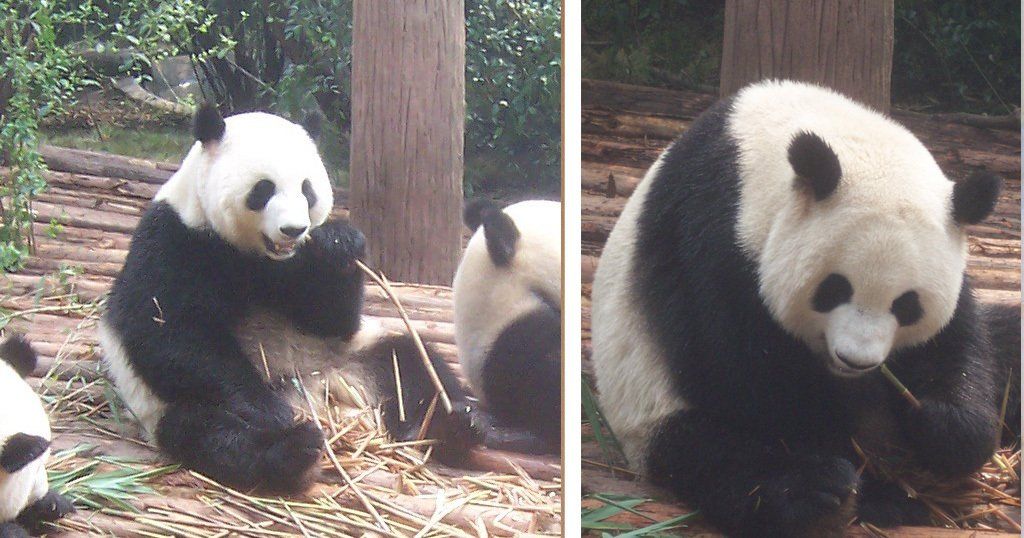
Figure 3: My furry muse and inspiration, (a) sitting up and (b) leaning forward.
The same adult then leaned forward (figure 3b) and became the model for my next work (figure 4), a pencil drawing completed in 2019, after working on it on-and-off since 2014. I had been asked by a friend to help him improve his drawing skills and so as part of the session devoted to looking at techniques to scale-up images. I showed him the grid method. This involves drawing squares on the image and then larger ones on the paper to ensure that everything is scaled-up in the correct proportions and it was from this exercise that I began the drawing "Giant Panda Feeding 3" (figure 4b). I also wanted to try something different, which for me was to produce a very detailed drawing and almost reproduce each hair of the panda’s fur. I also wanted to use pencils with different hardness to capture the tonal changes; for the lighter tones and white fur I used 2H and 4H pencils, whilst HB and 2B for the intermediate tones and 5B to 9B on the darker tones and details in the Black fur. I didn’t want the background or foreground to distract the viewer away from the panda and so I kept it quite low key. I was very happy with the results and amazed at how much patience I could muster along the way!
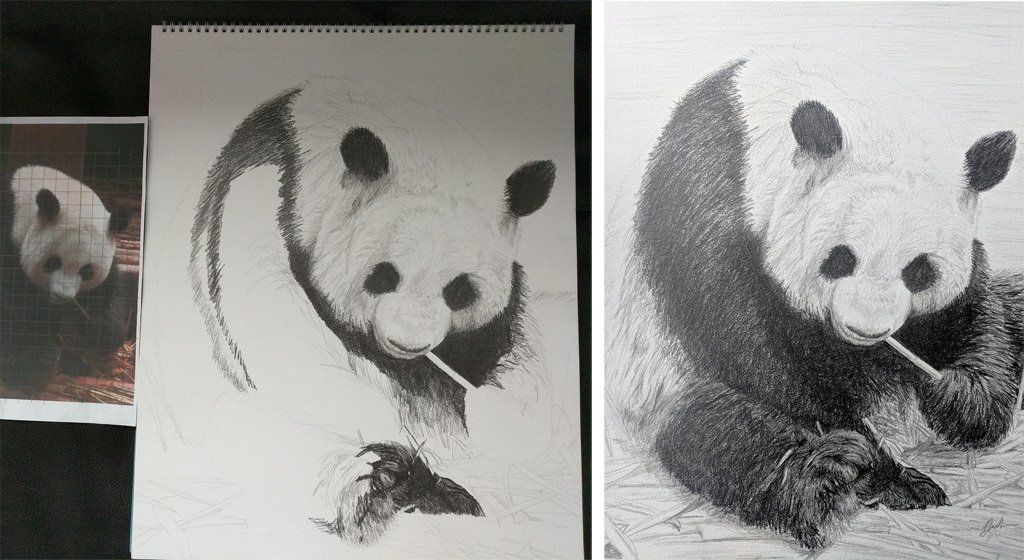
Figure 4: “Giant Panda Feeding 3” pencil drawing by Andrew Ludlow (40cm x 50cm), (a) part way done in February 2018 and (b) finished in October 2019.
The kind comments I received concerning last month’s ARTicle actually encouraged me to put aside time from my development and formulation work, which can easily intrude into my weekends and actually relax and enjoy using my watercolours for change. I painted for pleasure last weekend, probably the first time in a very long while and it was great!
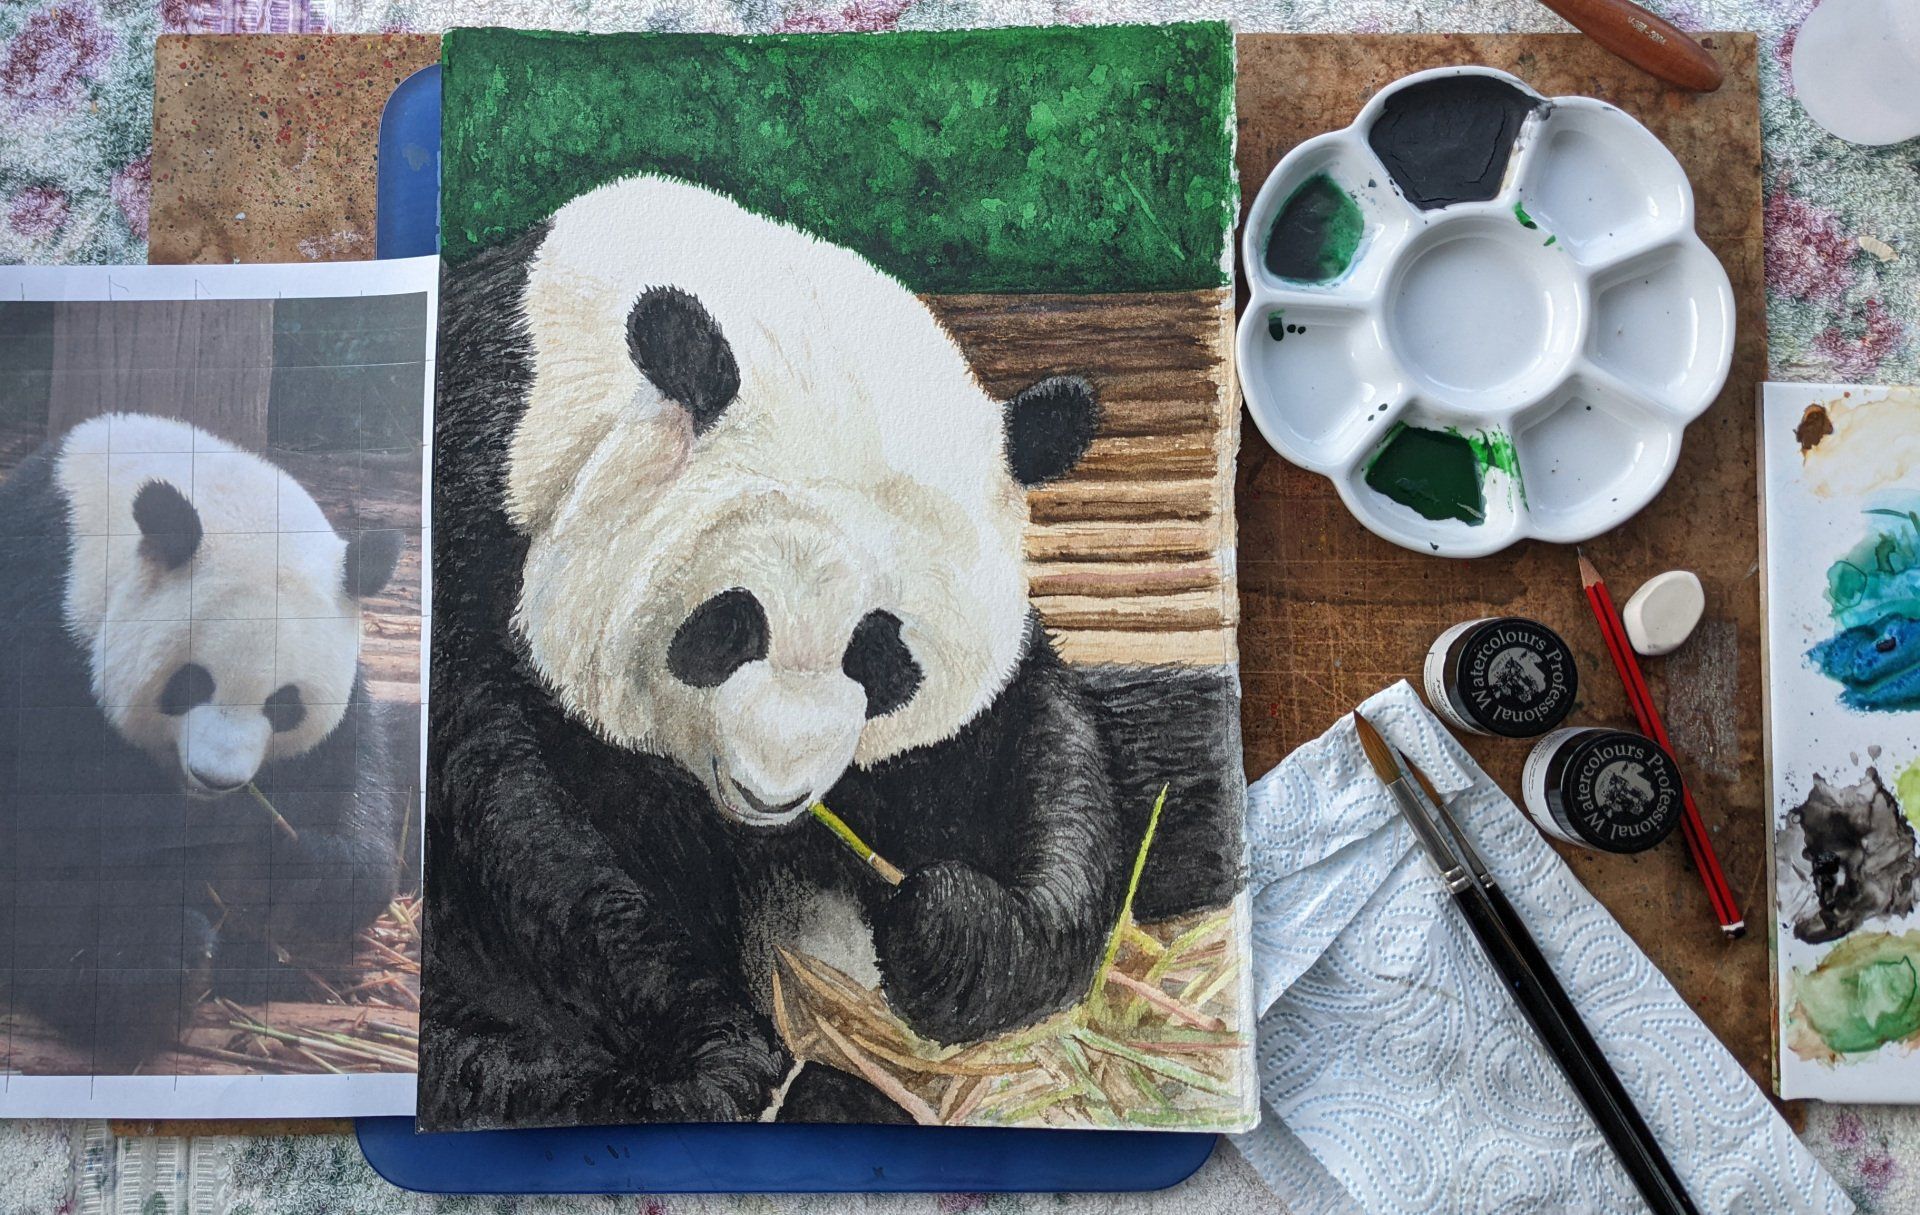
Using the same reference photograph of my favourite Giant Panda (figure 3b), I once again used the grid method to increase the size of the image. I drew a grid of 2cm squares over the A4 image, scaling-up to 2inch squares on hand-made, cold pressed Saunders Waterford watercolour paper (which was approximately 500gsm). Once I was satisfied with the outline drawing I gently rubbed out the grid, so as not to damage the paper surface (figure 5a and 5b).

Figure 5: (a) drawing a grid on the image and on the watercolour paper, then using the grid to scale up the image in the correct proportions and (b) finally erasing the grid before painting.
Using my watercolours (A J Ludlow Professional Watercolours), I painted the log floor in the background first using wet-in wet to create depth by giving it an out of focused look. I used Raw Sienna, Raw Umber and a little English Red to create the right wood-like colour. After letting it dry, I then started to paint the tree area, by initially laying down a flat wash of Phthalocyanine Green (Yellow Shade) mixed with Isoindolinone Yellow. Again, I let this dry, then using a long-haired brush and Charcoal Grey, I created the shadow and leaf patterns by swirling the brush around until the flat green wash took on the appearance of shaded undergrowth (figure 6a).

Figure 6: (a) painting the background and (b), starting work on the foreground and the panda’s fur coat.
Using similar watercolours to those used on the log floor, I started to pick out the bamboo shoots in the foreground of the painting, whilst a little Azomethine Green mixed with Phthalocyanine Green (Yellow Shade), gave life to the young bamboo leaves. I decided to use Charcoal Grey in the highlighted areas on the Panda’s black fur and on the ears and eyes. I used very dilute English Red for the reddish discolouration around the Panda’s left ear.
Once the painting was dry, I added Ivory Black to darken the areas and use the long-haired brush to paint the hair lines in the fur (see figure 7).

Figure 7: Adding more detail to the Giant Panda’s black fur coat.
Once the Panda’s black fur had been finished, I turned my attention to the panda’s face, which was in partial shade. Delicate lines of very dilute Raw Sienna painted with the long-haired brush created the creamy coloured lines in the panda’s white fur, whilst lines of dilute Raw Umber gave the fur a slightly darker tone and when “muddied” with dilute Cobalt Blue, gave a very good colour for the areas of the fur which were in shadow (see figure 8).
Figure 8: Painting the fine detail to the Panda’s face.
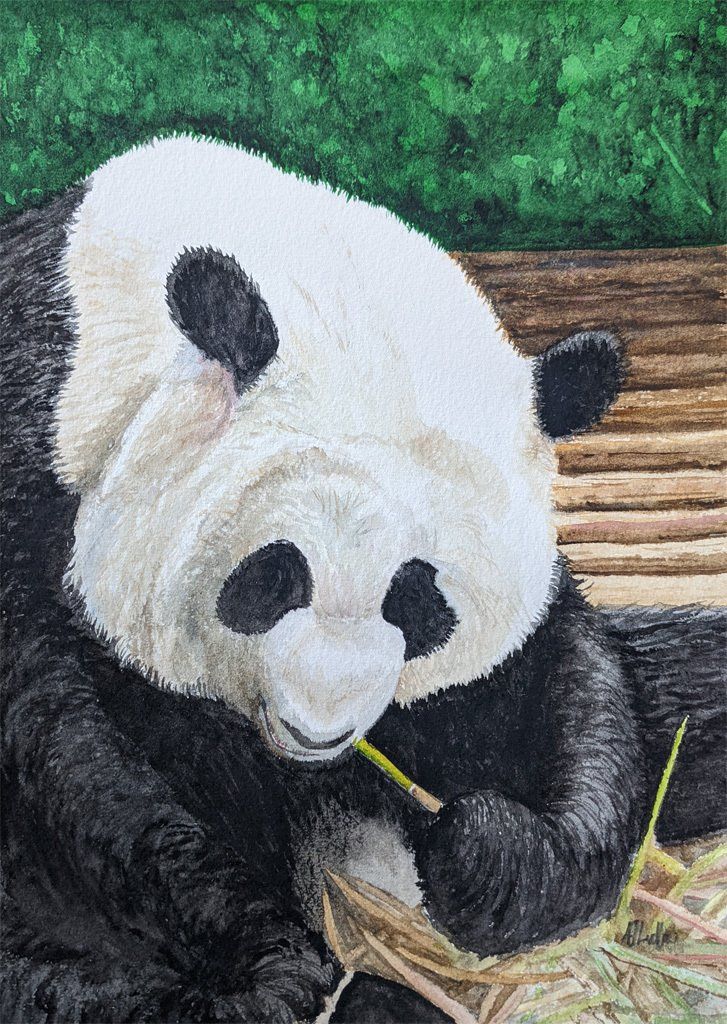
To darken the area around the mouth and snout, I used layers of dilute Charcoal Grey (see the finished painting in figure 9). To say I was pleased with the result was an understatement and please forgive me if I say that I was very impressed with the overall intensity of colour and brightness of the painting itself.
Figure 9: “Giant Panda Feeding 4”, watercolour painting by Andrew Ludlow (28cm x 38cm)
On comparing “Giant Panda Feeding 2” with the fourth incarnation, I do see and feel that there is a difference, the former is almost devoid of, say…“passion”….for want of a better word. My recollection of painting number 2 was of “knocking-it-out”, where as “Giant Panda 4” became something completely different. I think it did help to have drawn the subject in fine detail before hand and I must admit that I did debate using colour on “Giant Panda Feeding 3”, but decided against it, so it was probably inevitable that I would later repeat the work using watercolour.
I hope you have enjoyed my tale of Chengdu and how I “re-discovered” my passion for “painting for pleasure”. After our visit to Sichuan Province in October 2007, Meiru and I spent a couple of days in Xian, but that is probably a tale for another time.
