ARTicles
Revisiting “Watercolour Choices for the Budding Watercolourist”
Resultant musings from Living Craft at Hatfield Park - a sense of déjà vu for some, but a helpful personal reflection for others.
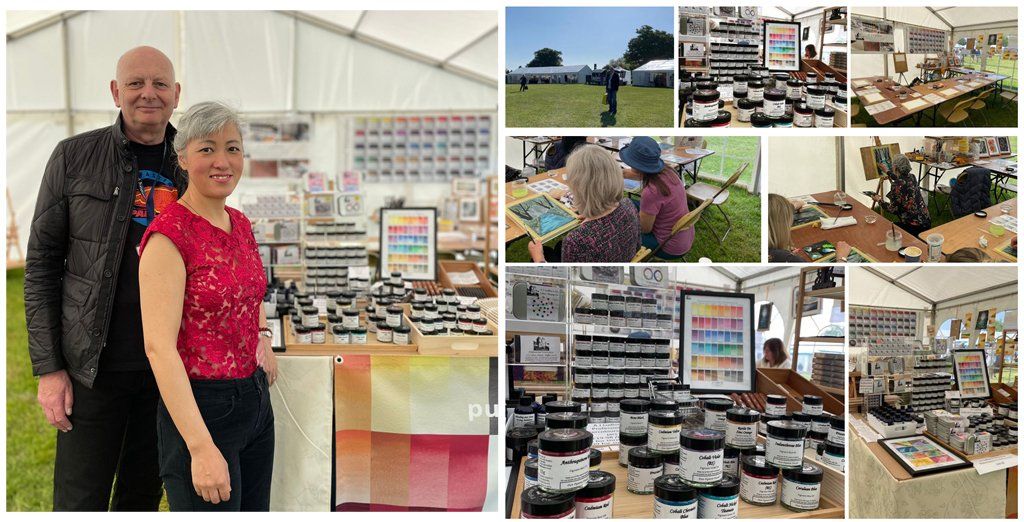
During May, we were out and about, having a great time meeting old friends and making new ones, whilst showcasing our exquisite watercolours at the Hatfield Park Living Craft show.
Chatting to a number of people about their art and where they were on their watercolour journey, it became clear to me that I should re-publish “Watercolour Choices for the Budding Watercolourist”, an earlier ARTicle from January 2021, as it would be helpful to those of you that are just beginning your journey.
The ARTicle was a personal reflection of how Meiru started her watercolour painting journey and the types of materials she found helped her to develop her skill. I have reproduced the original text below, made some additional comments in italics (so as to distinguish those from the original) and adding a few more photographs, which I hope enhances the original ARTicle.
Watercolour Choices for the Budding Watercolourist -
A Personal Reflection of How to Begin the Watercolour Journey
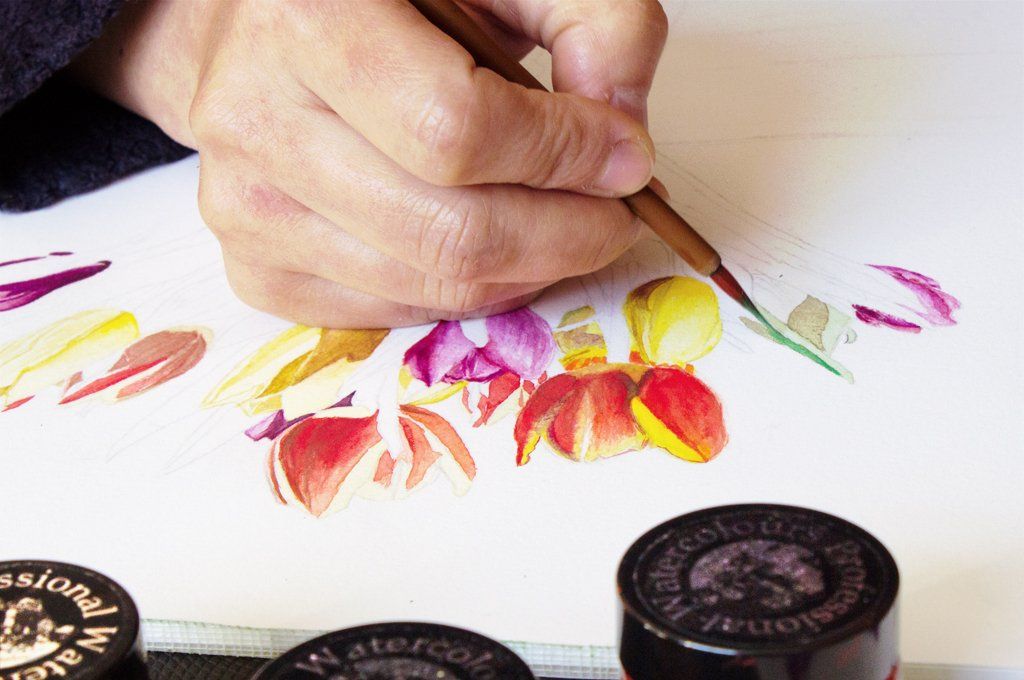
Figure 1: Meiru painting tulips with A J Ludlow Professional Watercolours
There is a lot of information out there, in magazines and on the internet (Ref 1), about choosing which watercolours to buy, personal preferences as to the best brands, student quality verses artist or professional quality, pans verse tubes and quite a lot of advice for beginners (some of which is frankly condescending). A whole host of information that can seem overwhelming, full of personal opinions and bias, even if given with good intentions and eagerness to help the “less well informed”.
“Well here comes some more of the same, from a manufacturer of watercolours”, I hear you say, but hopefully this will not be the case, as I not only paint in watercolours, but can also speak from the perspective of a Chemist and modern day Colourman too. And, even if my thoughts are considered bias and irrelevant to the beginner, I’ve also actively sought the opinion and experience of my co-author, Meiru, who was a complete beginner in February last year (February 2020) and is now enjoying painting quite complex and challenging subjects in watercolour.
Over to Meiru for the first point she considers to be important when she was just starting. “There are a few Watercolour painting techniques that make Watercolour so different and attractive. For example, the most popular Watercolour painting technique is wet-on-wet. Colours infuse into each other on a wet surface or wash in a natural way to capture this delicate effect. It’s relaxing and fascinating to watch how the colours work on a wet surface to infuse into each other. This was so much easier and the results more satisfying, because I used high-quality watercolours, which are also called Professional Watercolours.”
This is an interesting point and one that is often overlooked or considered a very difficult technique for a beginner to master, yet it can create such satisfying results, as can be seen in some of Meiru’s earliest paintings (see the example in figure 2).
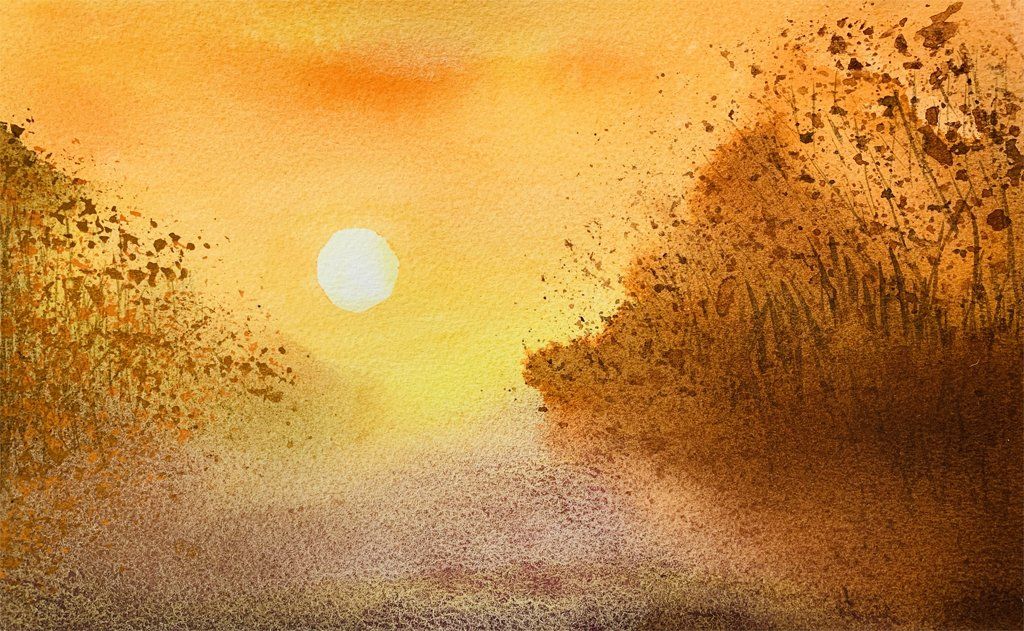
Figure 2: “Sunset”, a watercolour painting by Meiru Ludlow
In support of Meiru’s first point, I would like to add these thoughts for consideration. A high level of ability and skill is what we all strive for, but it should be kept in perspective and never be allowed to dampen our enjoyment. How many times have I heard that some one cannot paint or cannot draw and so stops enjoying and creating art, because they consider themselves and their art “not good enough”! In reality this unfortunate state of mind comes about because of a number of factors, where the level of skill, which is often seen as the one and only reason, is in fact not really a reason at all. I believe everyone can paint or draw, but what stops them enjoying it is their own perception of the required level of skill and so are disappointed with the results, but do they stop to consider the materials they are using?
Making furniture, or any DIY project (no matter how large or small) even with expert advice, will be so much harder with drift wood and budget tools. How many times, has this led to less than a fulfilling experience and dissatisfaction with your own level of skill. If only you had not been hampered by your choice of materials and tools, the results would have been so much better and the enjoyment and self-satisfaction lead you on to bigger projects and better results. Is this not true for painting or drawing?
On the subject of the materials she was using, Meiru was quick to voice her opinion that “the names of Student and Professional ranges in the Art Material Industry don’t represent how easy or hard it is to use them, instead they indicate the quality level of the products.” This is very true, as Liz Steel points out in her internet blog. She states that it is possible to achieve a good result with student grade watercolours, but the painter has to work harder than with professional ones “-up to 10 times” (Ref 2).
There is a formulation difference between student and artist/professional grades, which does affect how they perform. There are obvious differences between brands (Ref 3), where some student grades perform better than others and some artist grades have similar performance to the better student ones, but when compared to a true high-quality professional watercolour, the result is like “chalk and cheese” (see figure 3). High-quality watercolours are generally loaded with pigment and so are intense, bright on drying and due to the amount of pigment, tend to be used more dilute and so tend to go further. In fact, for some colours they may even be more cost effective than the less expensive student grades. The student grades tend to have the same powder to binder ratio, but contain less pigment, which means the space is taken up with extenders (that are sometimes referred to as fillers, but may be regarded as very weak white pigments). When the student watercolours dry, they are less intense and duller than the high-quality grades; in some cases, there is a colour shift on drying to a slightly lighter shade. I agree, student grade watercolours are harder to use and the results are less fulfilling than using professional ones, which all in all is an unnecessary hurdle when you are just starting out.

Figure 3: Professional versus student quality Ultramarine Blue, showing the difference in pigment granulation – the professional quality watercolour granulates well, whereas the student quality one is poor due to the presence of the extender.
Asking Meiru what watercolours are suitable for beginners, she suggests “to get a limited palette of between 6 to 12 single pigmented colours covering the full colour spectrum range. The single pigmented colours make colour mixing much easier to control”. I would also recommend this as colour mixes with colours that are already a blend of pigments will look muted and dull. The intensity and purity of colour is governed by the sharpness of the light absorption spectra (Ref 4). In pigment mixtures each pigment will obviously absorb light and so there are a number of absorption bands, which broadens the spectra and so results in a distinctly duller hue (see figure 4 and 5). This is true for high-quality professional watercolours that are composed of mixed pigments, but even more so with student grades as each watercolour will have, not only the pigments to achieve the hue, but also the extender, which, as already mentioned, acts as a weak whitener.

Figure 4 and 5: Spectra of a composite green and how it compares to a spectral green
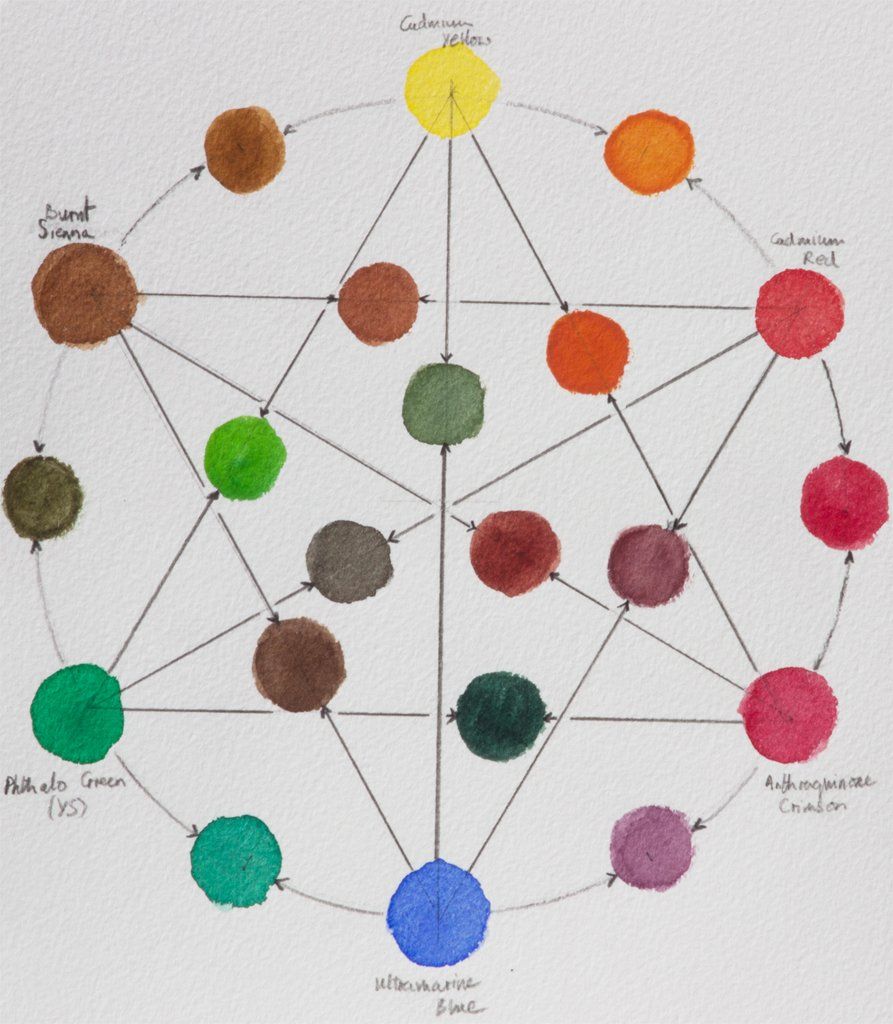
Figure 6: Watercolour mixing chart for a six colour mixing set
Obviously, there are other factors that make the first steps in painting in watercolour less challenging. “Paper is another important part of Watercolour painting” Meiru adds, “I always use 100% cotton Watercolour paper because it has good wet properties. Controlling water is a fun part of Watercolour painting. If the paper is not professionally treated, when you brush water onto the paper, the surface may tear and it will bulge out in certain places to create many puddles, causing rings. That will give a lot of stress and frustration to the watercolourist and if they are new to watercolour, it will destroy their interest and confidence.”
Watercolour papers made from 100% cotton are generally considered as the best quality, because the cotton gives the sheet strength and durability due to the fibres' relatively longer length. Cotton papers can absorb and hold relatively more water and so are good for wet into wet techniques. The paper’s weight is also an important factor when choosing, as the heavier papers are less prone to cockle whilst painting; any weight under 300g/m2 (140lb) may need stretching before painting can begin. The most popular paper is cold pressed (CP), which is also commonly known as NOT (meaning that it is not hot pressed) and so has a slightly textured surface, making it suitable for most types of work. It is also supplied with a heavier texture and is known as Rough. Hot Pressed papers have a smoother surface and are generally used for more detailed work. The surface of high-quality 100% cotton watercolour papers are often coated in gelatine size, making it strong and resilient to scrubbing and so is ideally suited when, for example, using latex masking fluid or where large areas of colour need to be lifted out, as the paper’s surface is less prone to damage. Because of the variety of different papers available it is sometimes best to experiment with different paper surfaces and sizing to find what suits your own painting style and technique.
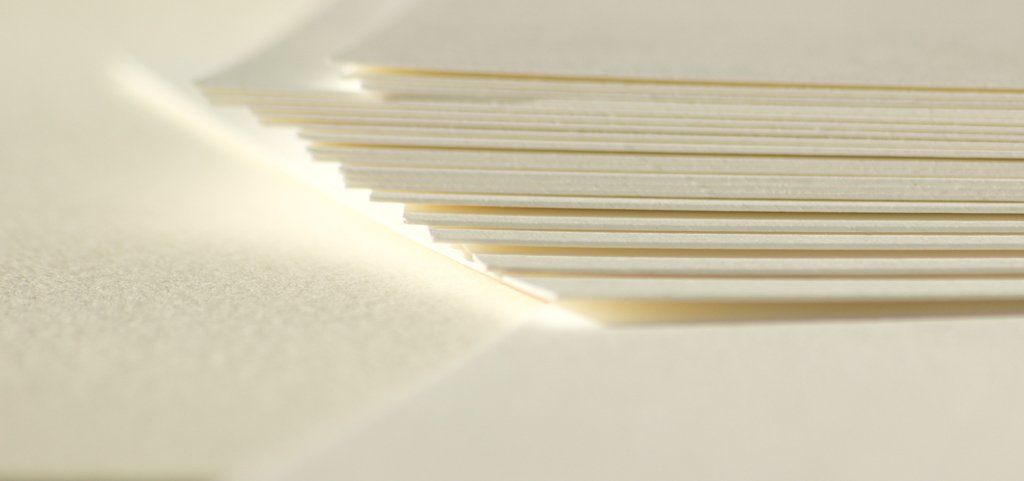
Figure 7: Sheets of 425gsm cold pressed Watercolour (NOT) paper.
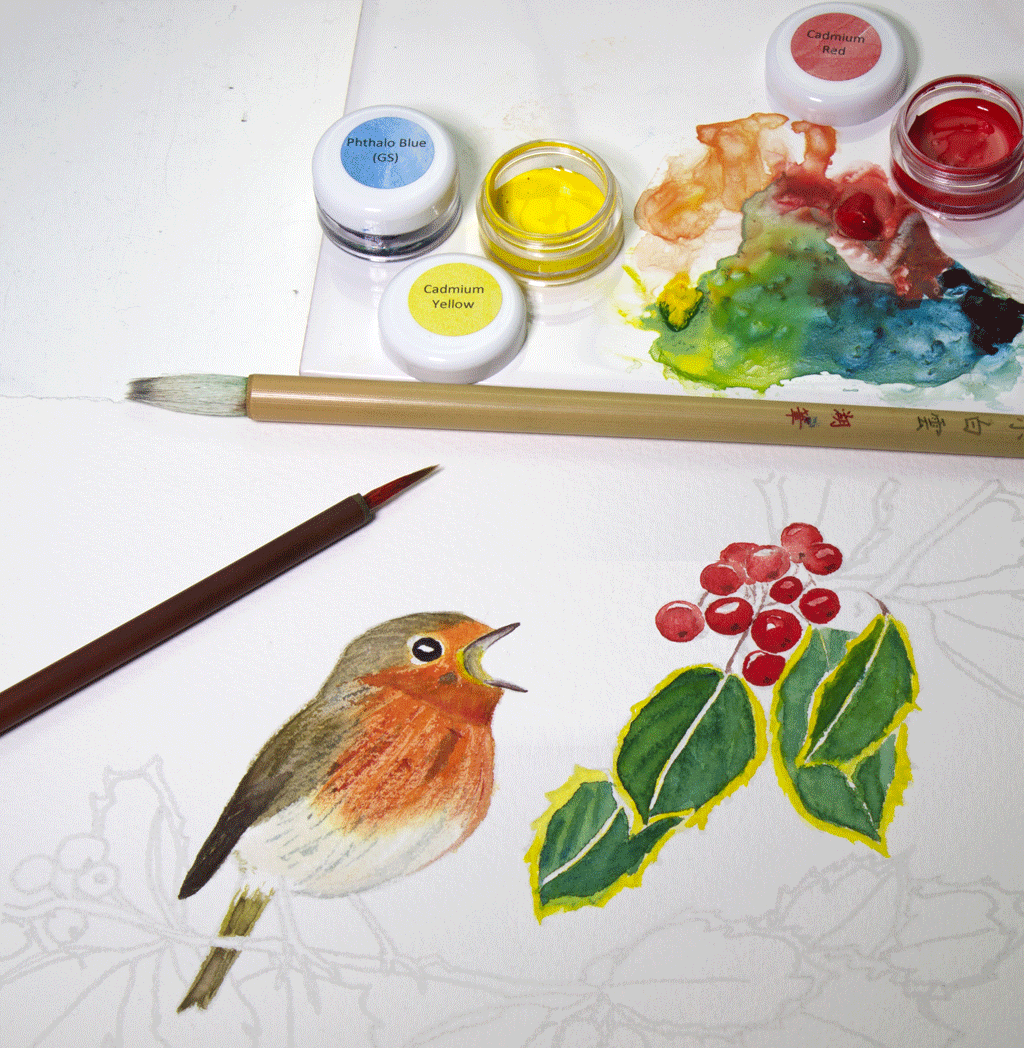
Brushes can also make a big difference as they control the mechanics of painting and transfer of colour to the paper. Meiru, tends to use Chinese brushes as they can hold a lot of water, maintain a good point when wet and are very good at keeping their shape. I use sable, purely out of habit, but as long as the brush doesn’t lose bristles, holds its shape when wet, has a good point (or if a flat, good edge) when wet and allows the smooth transfer of paint to paper, synthetic brushes will do. Like with paper, sometimes it is best to experiment with different brush shapes and hair types and find what suits your own painting style and what you are comfortable with. However, if you do not look after your brushes, they will soon deteriorate and affect your painting. Emma Pearce recommends, rinsing the brush in water throughout each painting session and not allow them to stand on their heads in the water pot; then when finished painting, wash the brush with warm water and household soap, ensuring that there is no trace of colour left in the hair, dry the handle, shape the brush, and stand up-right in a dry jar to dry (Ref 5). However, after washing with soap and rinsing thoroughly, I let my brushes dry flat with the head positioned over the table top, so as to avoid water traveling down the brush and swelling the wooden handle (see figure 8). Incidentally, Chinese brushes are dried hanging downwards to prevent this same issue happening (figure 9).

